
This recipe is truly the best and gets rave review from our guests. We have tweaked it a little since the original post. Look for the highlighted areas to note the small adjustments, that believe it or not have made a difference in our dough.
Have you ever heard the phrase , “sometimes you can’t beat a man at his own game?” Well, it seems in this case we couldn’t beat a woman at her own game. After the ups and downs of the many recipes we have tried, I think we have landed on a keeper (at least for now). We are in love with a slight variation on Mugnaini Pizza Dough, Large Batch recipe. This dough has knocked everyone’s socks off! I should start by saying that Mr. Fanatic cuts the recipe in half so as not to have so many dough balls.
From the first attempt with this recipe, it was terrific. The recipe is pretty straight forward. It does not take a lot of hands-on time, but does require a fair amount of fermentation time. There is a period of bulk fermentation, as well as time to proof in the refrigerator after the dough has been balled.

Let’s talk about the appearance and texture of the crust. Wow! This is a show stopper! The bloom is lovely. There are glorious bubbles around the edge that char perfectly. Crunch and chew are very well balanced. Our crust is rather thin so once it is loaded up with toppings there is some moisture in the center, it is not cracker-like all the way across.
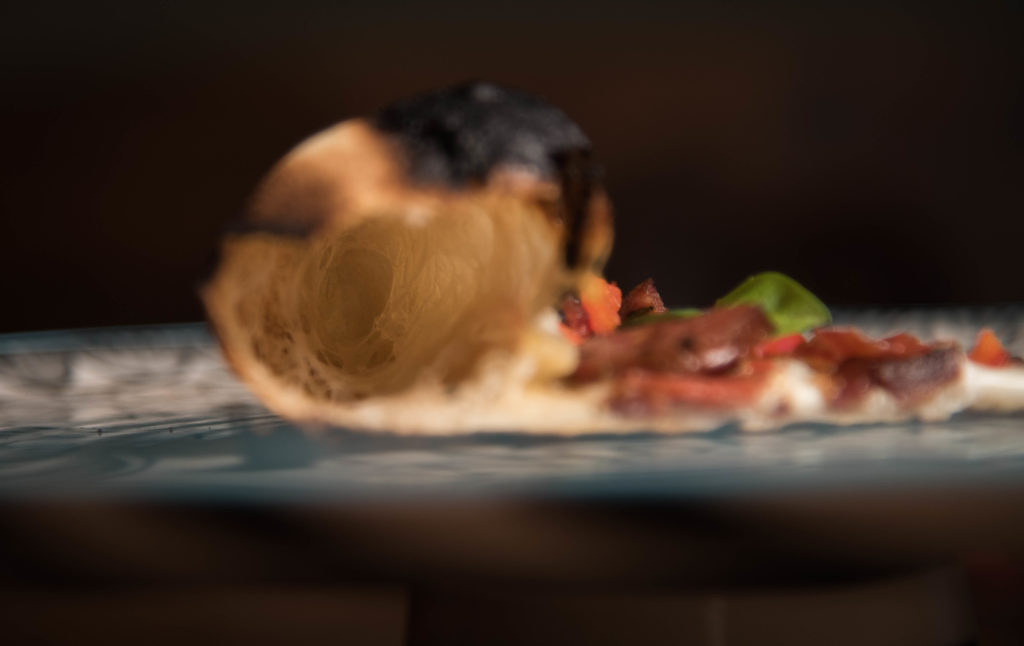
This dough handles like a dream. Mr. Fanatic immediately noted how quickly it turns out into a gorgeous round shape with little effort.
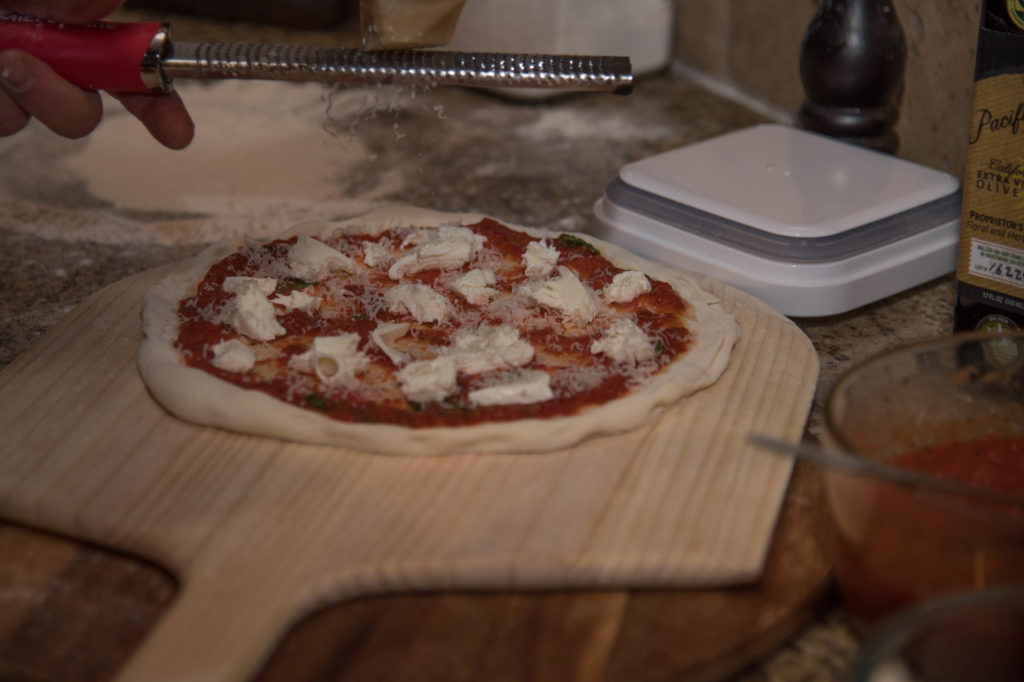
So….how do you create this pizza masterpiece? It is pretty simple as long as you are focused and precise in your measurements. There are just five ingredients in this recipe (one not shown): flour, water, yeast, salt and a little drizzle of olive oil.
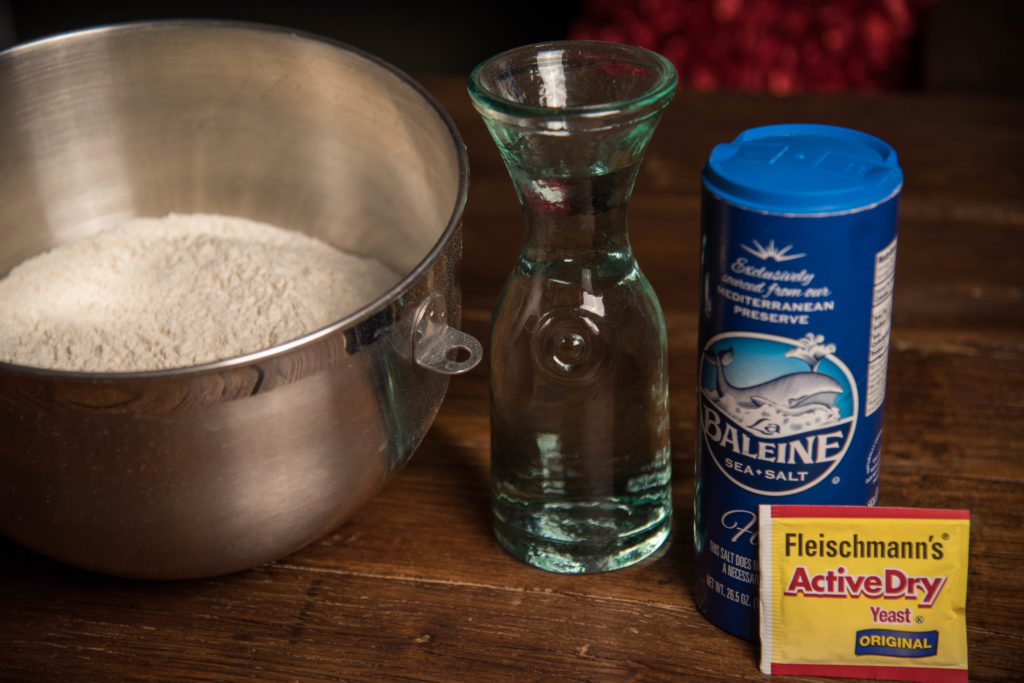
Important: In this recipe use Antimo Caputo blue flour for best results. The red flour does not give the same tender crust. The only place we have been able to find it is on Amazon in large quantities. It looks like this:

Just take it out of the box and put in smaller ziploc bags or airtight storage containers.
Once you have assembled the ingredients it is time to start weighing. Yes. This recipe is so precise it is done by weight. It seems like extra work but it really is not and is absolutely worth it. (I may have cheated and the flour has already been weighed in this photo.)
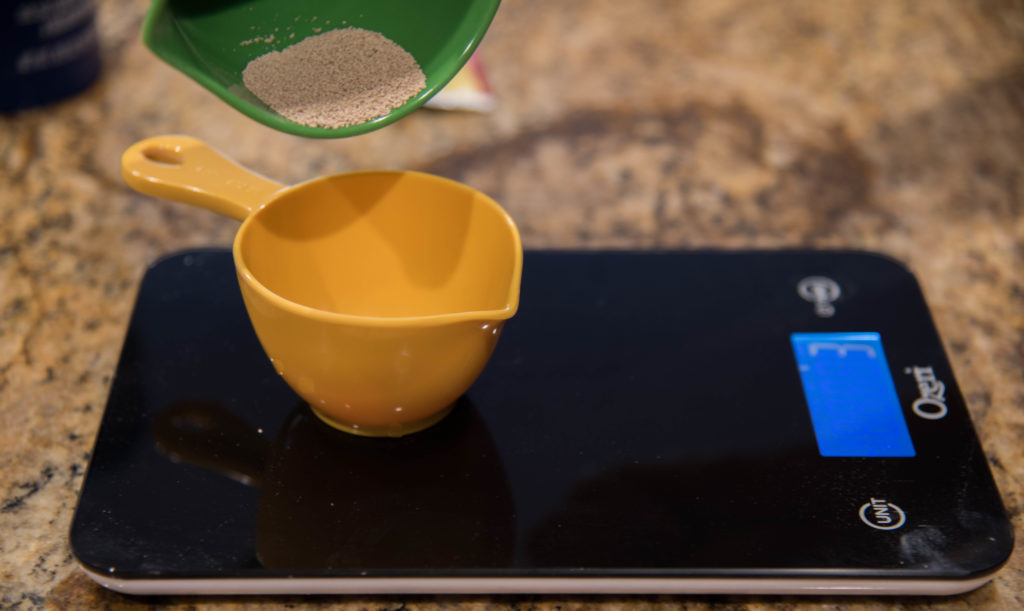
I love this food scale. It is great for weighing many things…but it isn’t perfect for pizza recipes. A microscale would be useful for this application. Update: we got a great scale that does both larger items and micro measurements. I highly recommend it and it makes weighing the small ingredients so much more accurate!
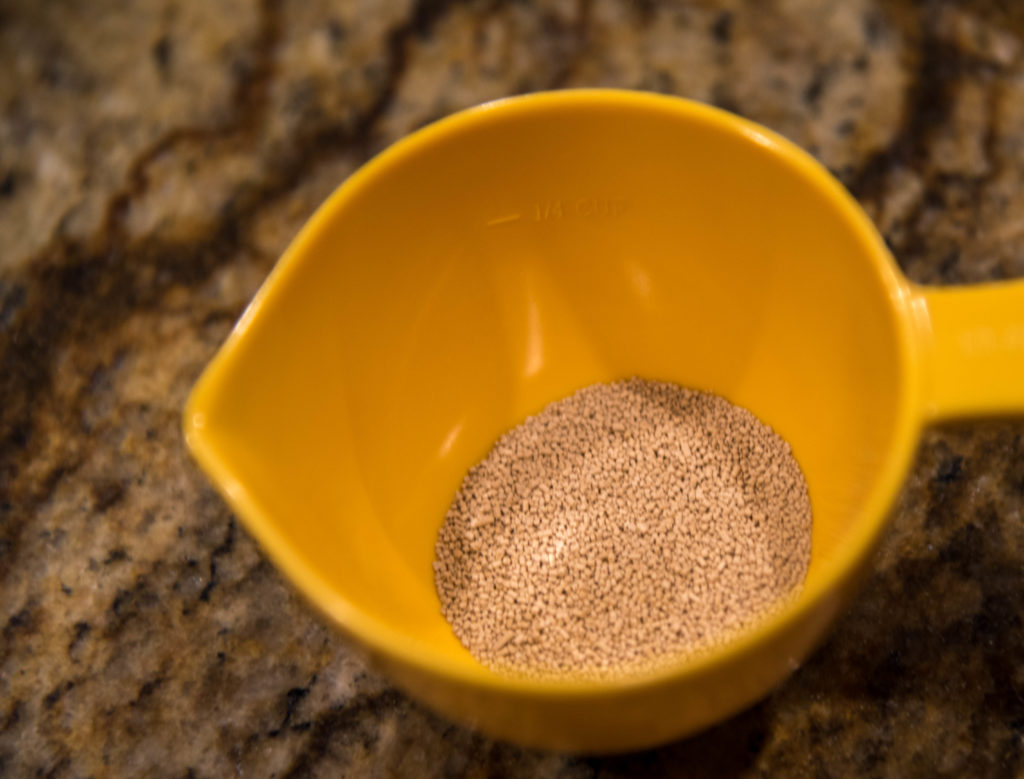
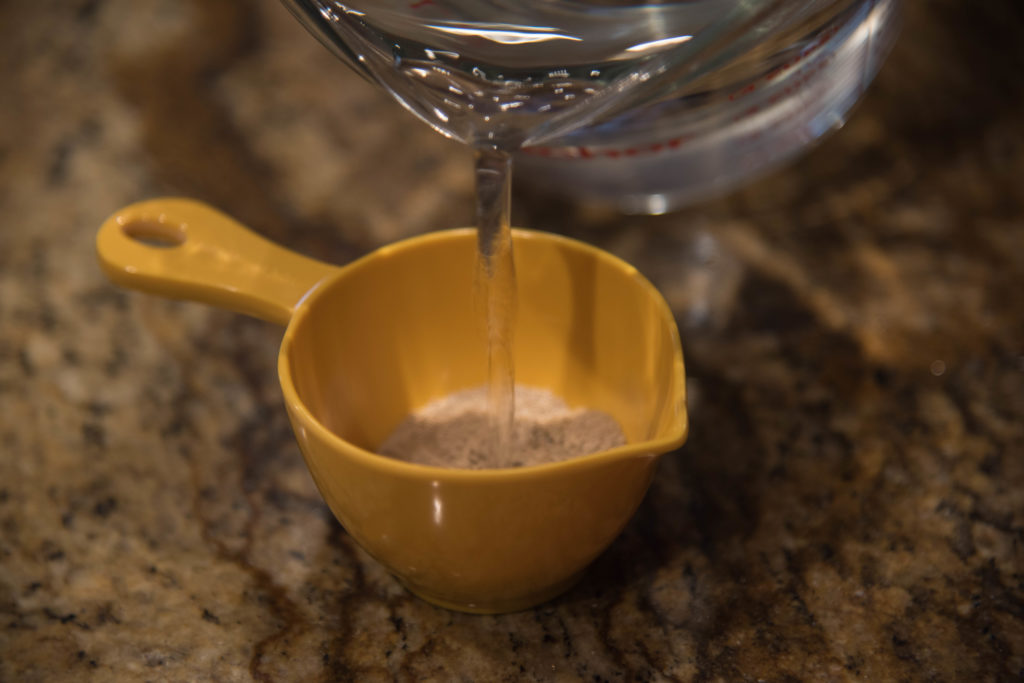
Less than one packet of yeast is required for this recipe…but isn’t it pretty! These little granules are going to bring your pizza dough to life. Just add a pinch of yeast and water…that is exactly 105 95 degrees. Stir gently until yeast and flour are fully dissolved and combined making sure to get all of it off the spoon and wait 10 minutes from the time you first added the water.
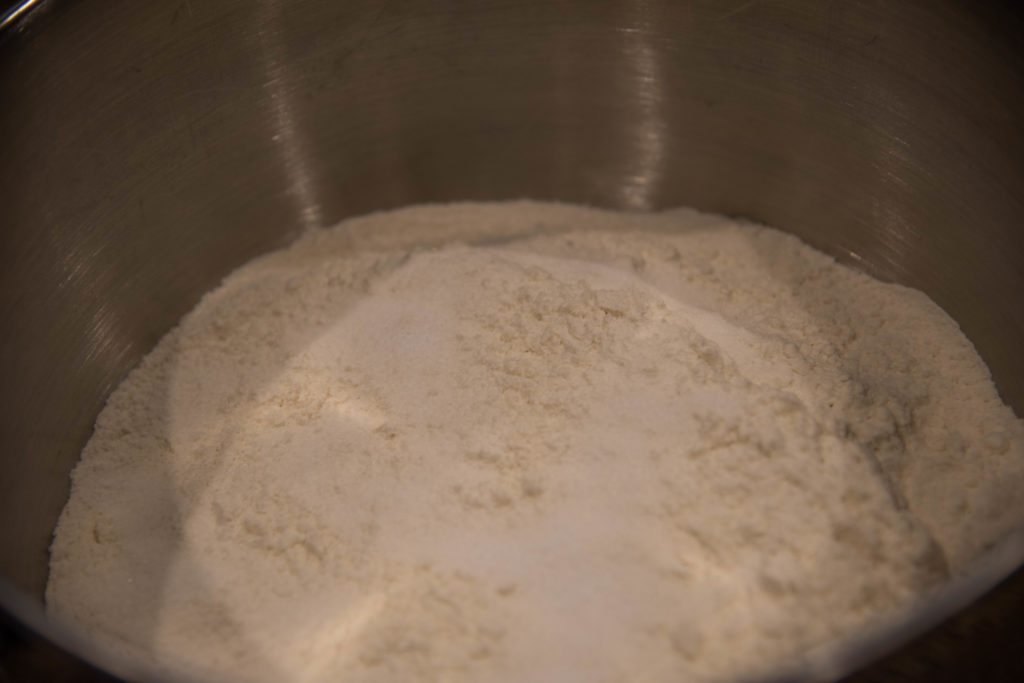
While the yeast is activating and getting frothy, add the salt to the flour and give it a stir.
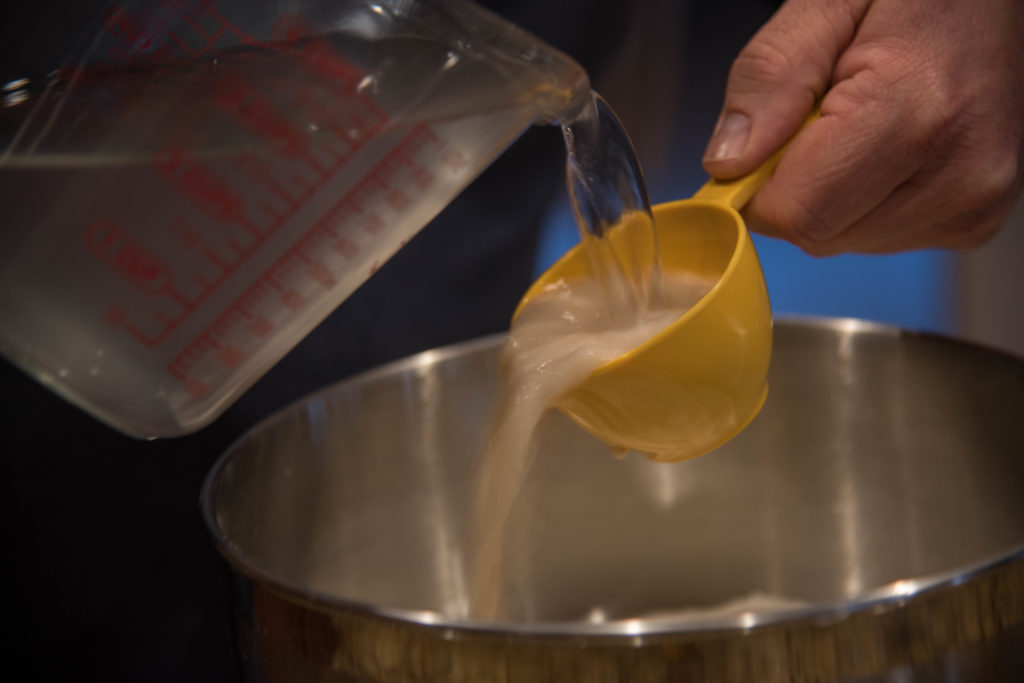
Here is where the fun really starts. Add the activated yeast and the remaining water to the flour/salt mixture. If the water that was not added to the yeast has cooled significantly below 105 95 degrees, warm it again before adding it to the dry ingredients.
Tip: As you are pouring in the frothy yeast, pour the remaining water through the same cup to be sure you are getting all of the yeast into your bowl.
Give the ingredients a few stirs with a wet wooden spoon (moisture helps less dough stick to the spoon) before using the stand mixer with dough hook attachment to completely combine.
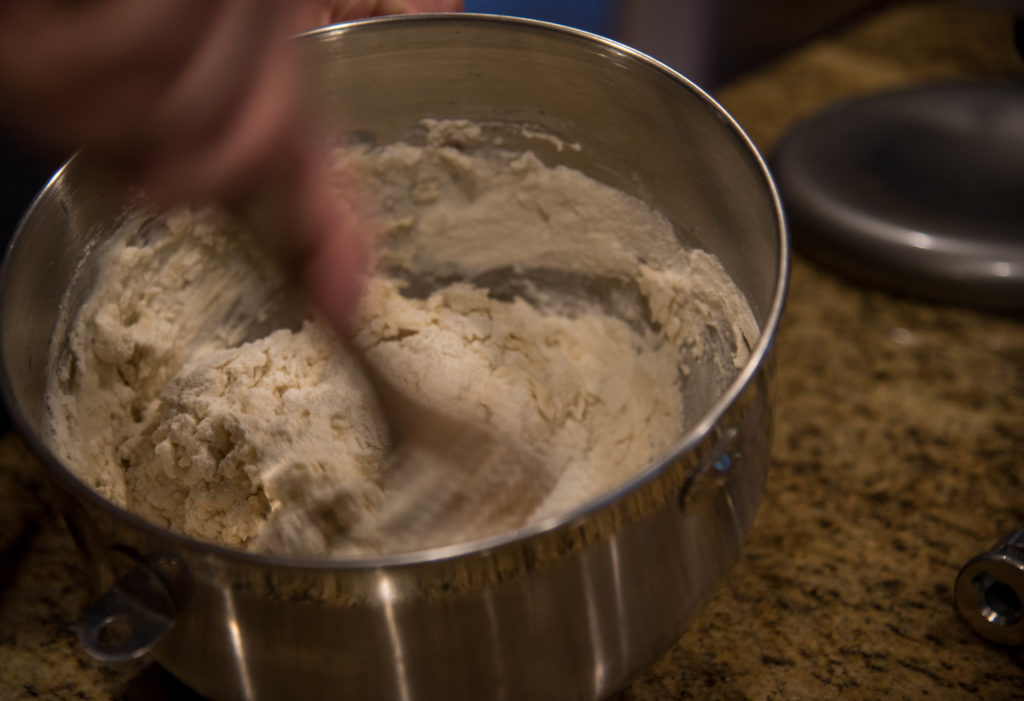
Begin mixing and you will quickly have a shaggy mass.
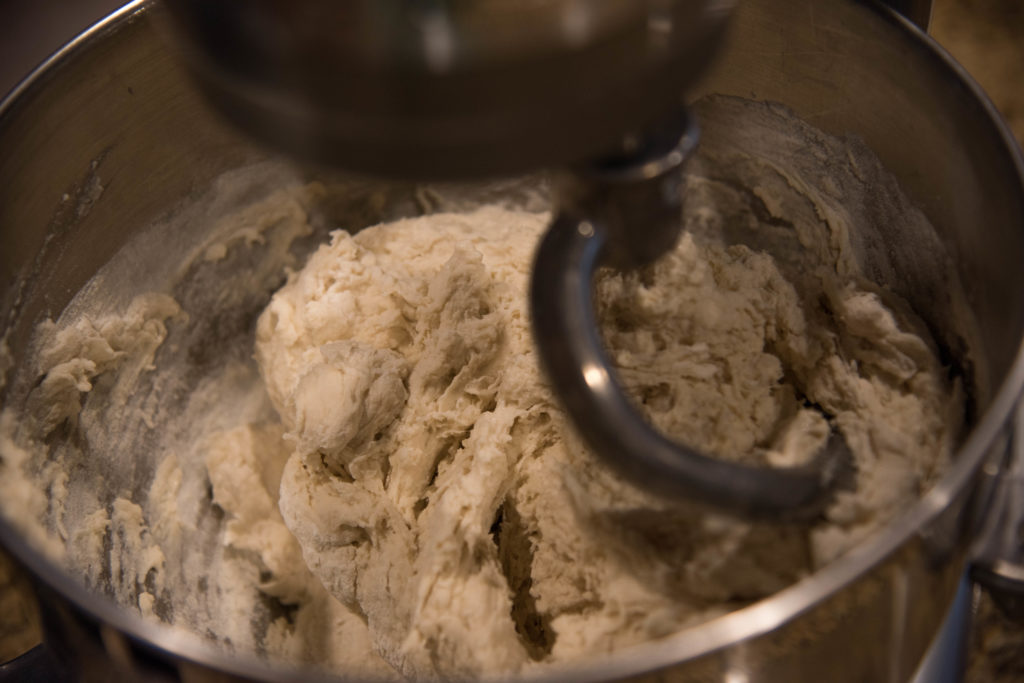
After 1 minute, drizzle in the olive oil. Note: the picture shows Pacific Sun Olive Oil. We are now using Bianco Olive Oil.
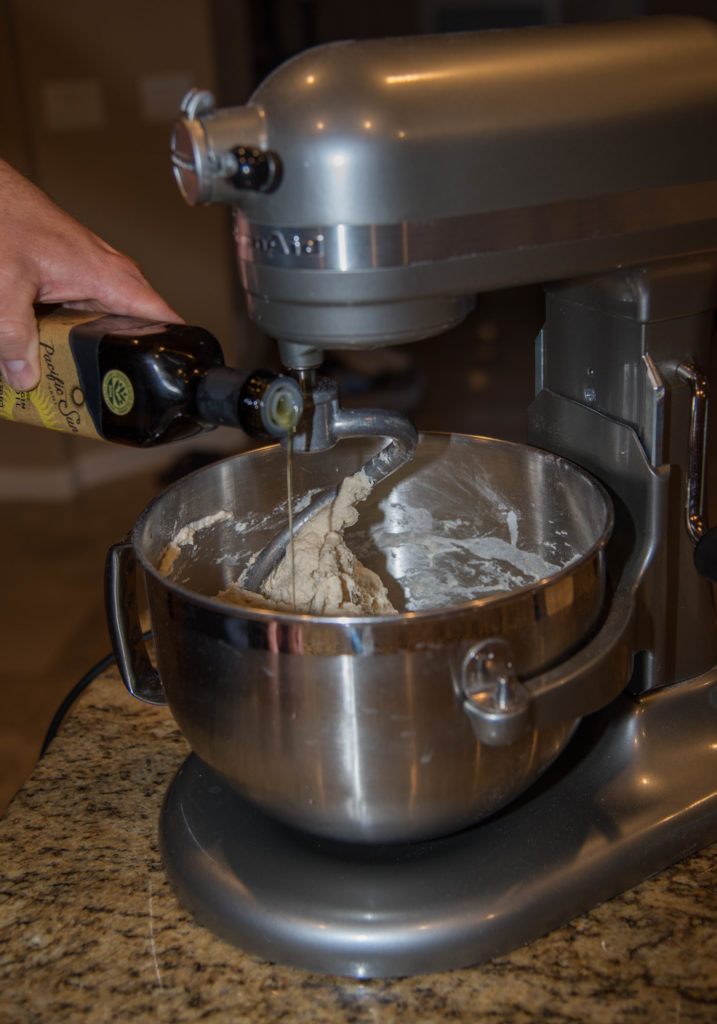
Now mix for another 3 minutes. (Hum the theme to Jeopardy to drown out the noise of the electric mixer.) Time’s up! Cover that bowl with plastic wrap and set it aside for 20 minutes. After the time dings, mix for an additional 2 minutes.
Now comes the start of the hands-off work…your dough needs to rest at room temperature for 2 hours. Set a timer, because if you don’t, you will forget about the dough… Here is the dough at the start of the bulk fermentation period.
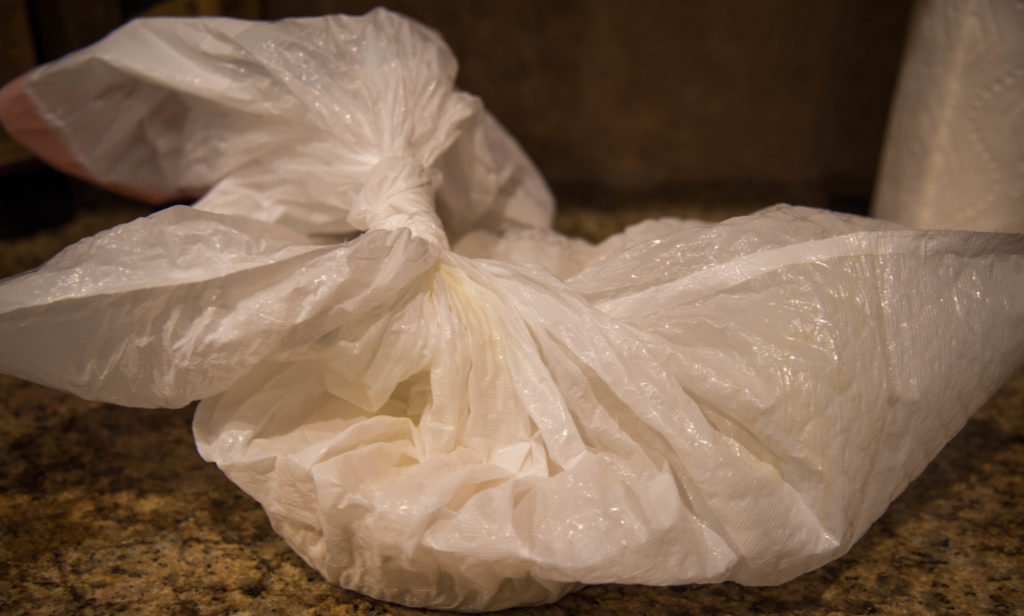
Tip: We have learned to get creative with inexpensive proofing options. During the period of bulk fermentation, we use a garbage can liner. It is large, allows room for growth, and can be easily tossed when time to ball the dough.
And here is the dough after 2 hours
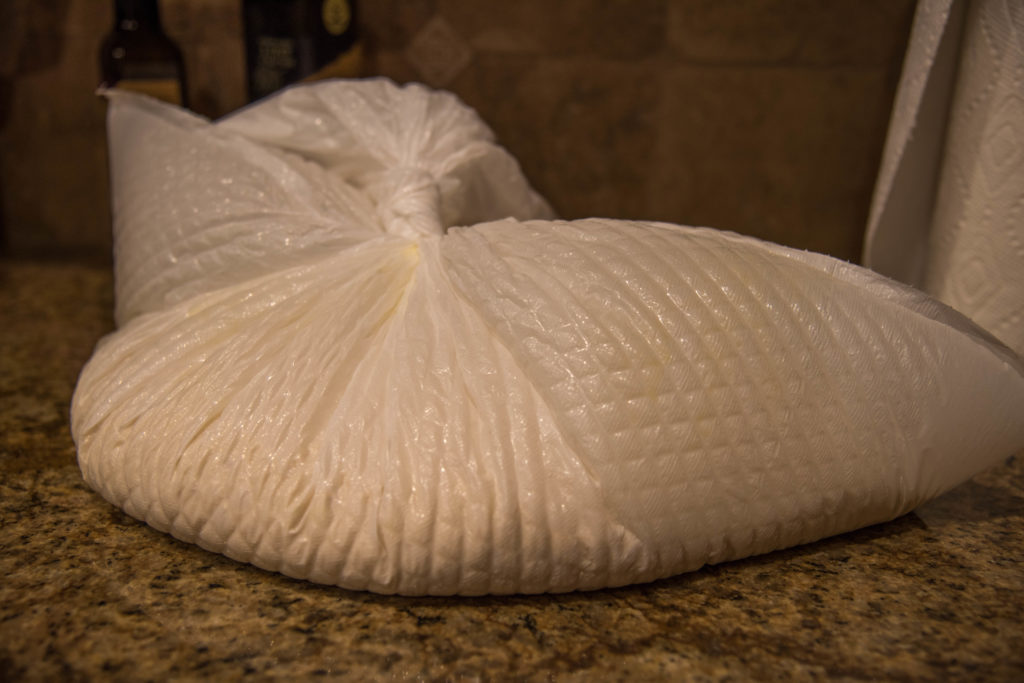
Now off to chill out in the refrigerator goes the big ball of dough. Yes sir! Right in the garbage bag until tomorrow when it is time to ball the dough. This step really is important, do not skip this step in the process. Some have tried and the results really do suffer.
Fast forward to tomorrow. Now is the time to ball. Balling the dough is a precise technique that we will demonstrate in another post or video. But here is how it looks:
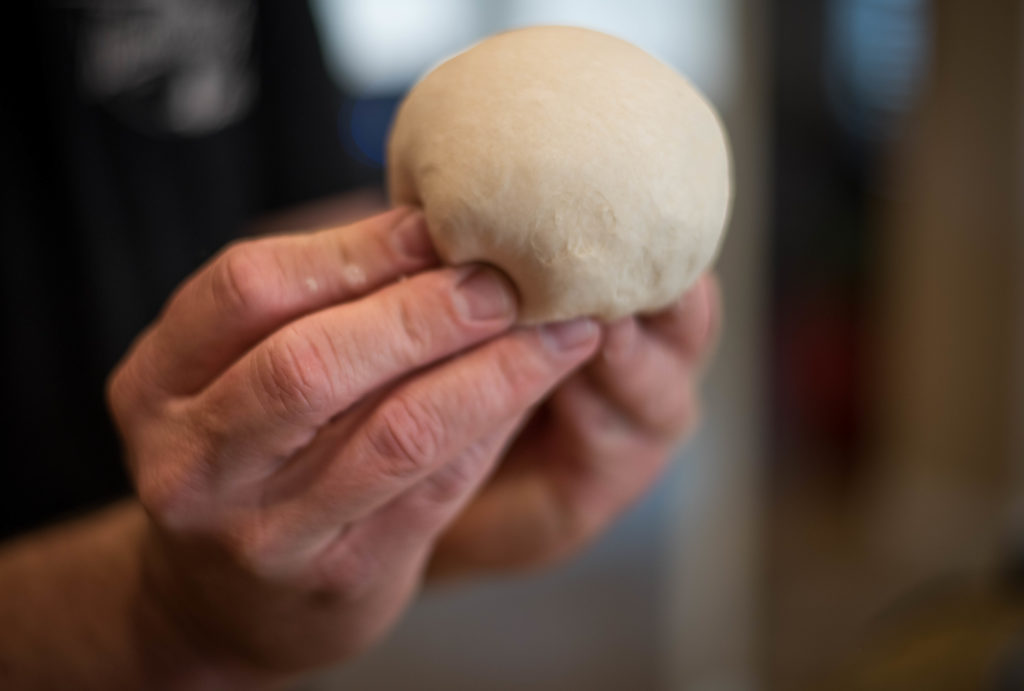
Each ball goes into a bag that has been sprayed with olive oil spray to prevent sticking.
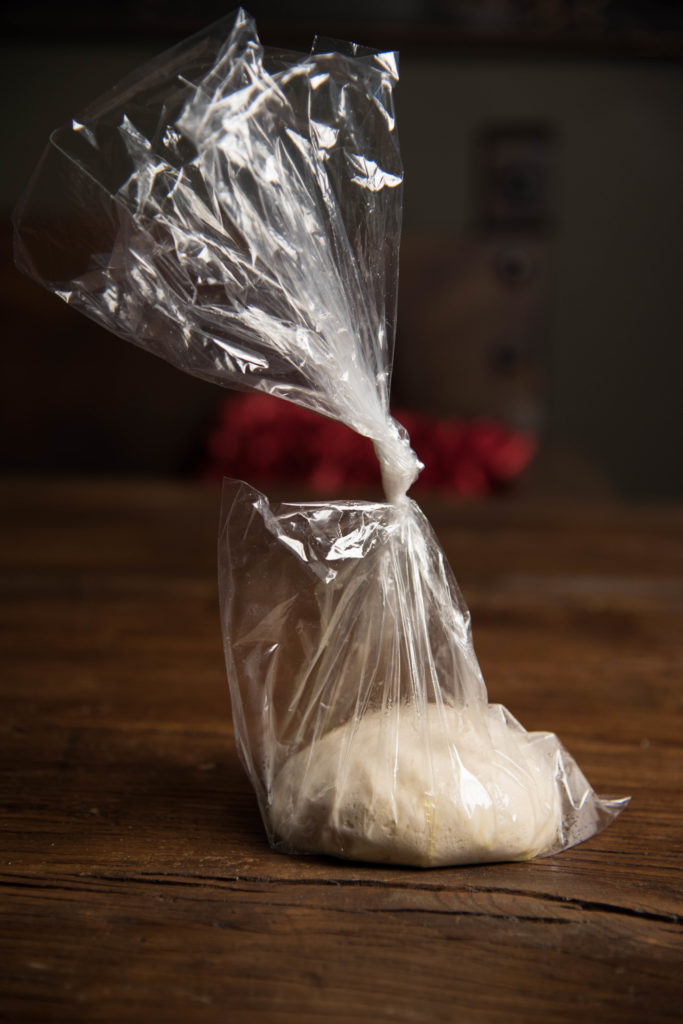
Tip: We tried putting dough balls in one big plastic container only to return to one giant dough blob. Next, we tried individual containers or zipper bags. This requires some manhandling to extract the dough which causes the need to ball the dough again BEFORE you can turn it out and shape your pie. Mr. Fanatic found a thread on a forum with a guy who uses very inexpensive plastic twist-tie bags.
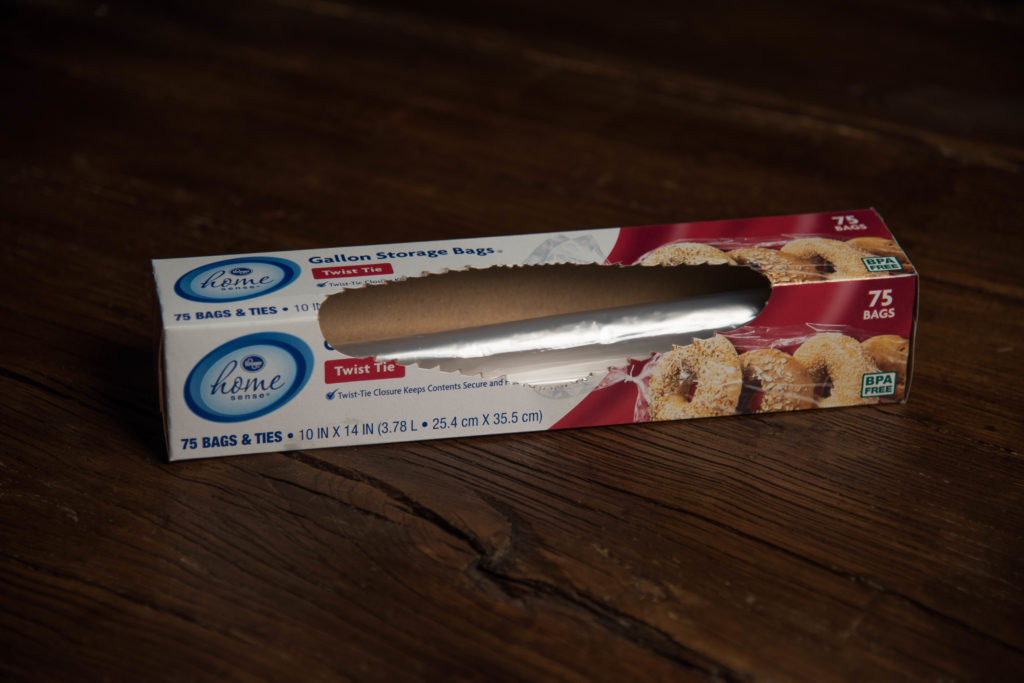
Who knew those were still available??? Not this girl! They do a great job of holding dough balls. Spray the insides of the bag with olive oil cooking spray, insert dough ball and knot the top. The Great Value bags from Walmart are actually preferred because they are slightly thicker and you get 25 more for a lower price. (Dough can be frozen in the bags, however I wouldn’t recommend them for long term storage as they are very thin.) When ready to create your pizza masterpiece, cut the bag and drop the ball out onto the floured work surface. In less than 30 seconds there will be gorgeous round dough ready for toppings.
Did you enjoy this post? If so, please like us on Facebook and follow us at Instagram @woodfiredfanatics for lots more wood fired fun and adventure!
- 1,175g Antimo Caputo 00 blue bag flour
- 3.55g active dry yeast
- 14g salt
- 680g +59g water
- Olive oil to drizzle
- Place 59g of 95 degree water in a small bowl and sprinkle with yeast, stir gently. Let sit for 5 minutes until creamy.
- In the bowl of an electric mixer, combine flour, hydrated yeast, water and salt. Mix for 1 minute and drizzle with small amount of olive oil, approximately a tablespoon give or take. Continue mixing for another 3 minutes. Remove bowl from mixer and cover with pastiche wrap and let rest for 20 minutes. After the resting period, mix for 2 more minutes.
- Remove dough from the mixing bowl and place in a large plastic bag. Leave on the counter at room temperature for 2 hours. Next, refrigerate dough for 24 hours, then remove from the refrigerator and make your dough balls. Then return to the refrigerator for an additional 24 hours. At this time the dough can be used for pizza or frozen for use at a later date.



Thank you for the precise details and updated information! Of course it would be easier just to come to your house and have you feed us, but we are trying to be more independent!
Dying to know if you tried it and how it turned out! Definitely need a pizza party soon!