Why do I love Thanksgiving so much you ask? Food! In my mind the most food oriented holiday of the year is Thanksgiving. The entire day revolves around one delicious meal. A juicy, golden brown turkey surrounded by rich, comforting side dishes are the stars of the show. A show that begins with yummy snacks and closes with pumpkin in the form of pie with whipped cream or bars with cream cheese frosting. It is meal I start planning for weeks (or in the case of my favorite cookies from AZ Cookie Love, months) in advance. The past couple of weeks have been spent watching cooking shows, searching online and Pinterest-ing about Thanksgiving. As much fun as I have learning new recipes and and ideas, there are always the traditional dishes that we serve every year. I will share a couple of oven appropriate recipes for those sides over the next few days.
Today the lead player is what we want to discuss. THE TURKEY!
I was so intimidated the first time I made a turkey for Thanksgiving. I was in my 20s and must have called my mom a dozen times (or more) to ask questions. It turned out alright but the process has evolved over the years. Never did I dream that one day I would be making our turkey in a wood fired brick oven but gosh is it fun!
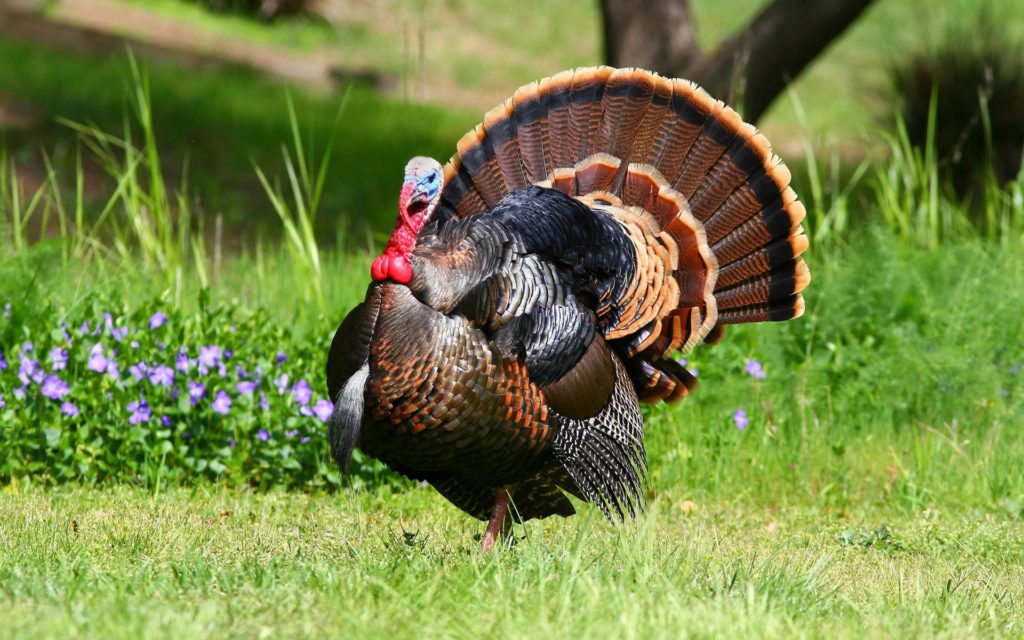
First choose your turkey…fresh, frozen, organic, free-range…whatever blows your skirt up. I’ve used all different kids of birds with pretty similar results. I will tell you the bird that posed for the photos in this article is a standard grocery store brand frozen turkey. In order to get a turkey a couple of weeks before Thanksgiving to do this post, I really couldn’t be too picky.
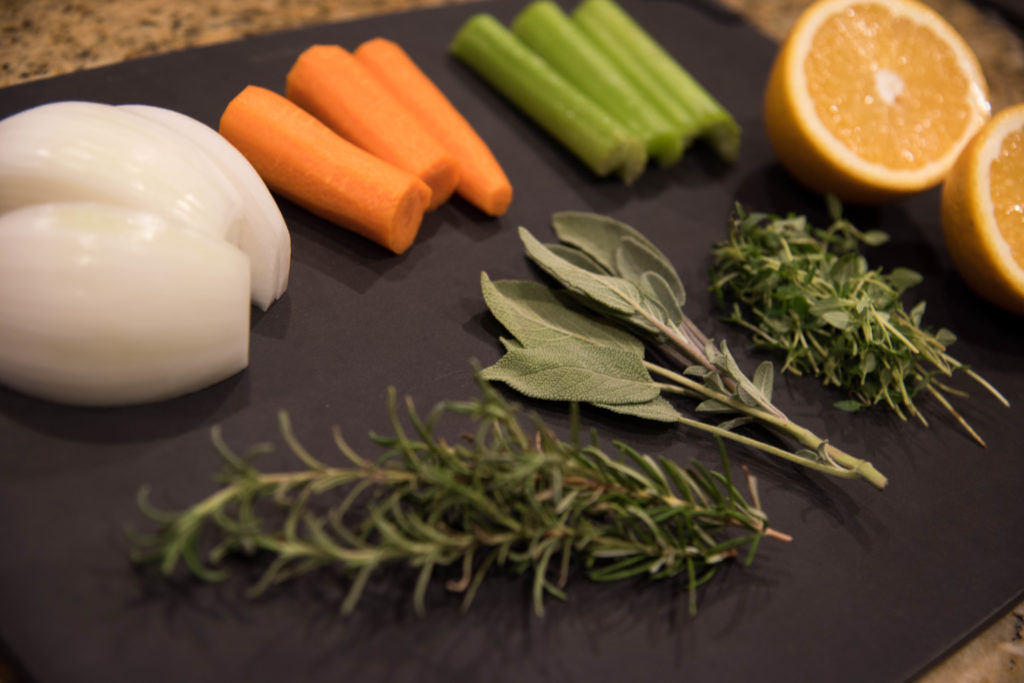
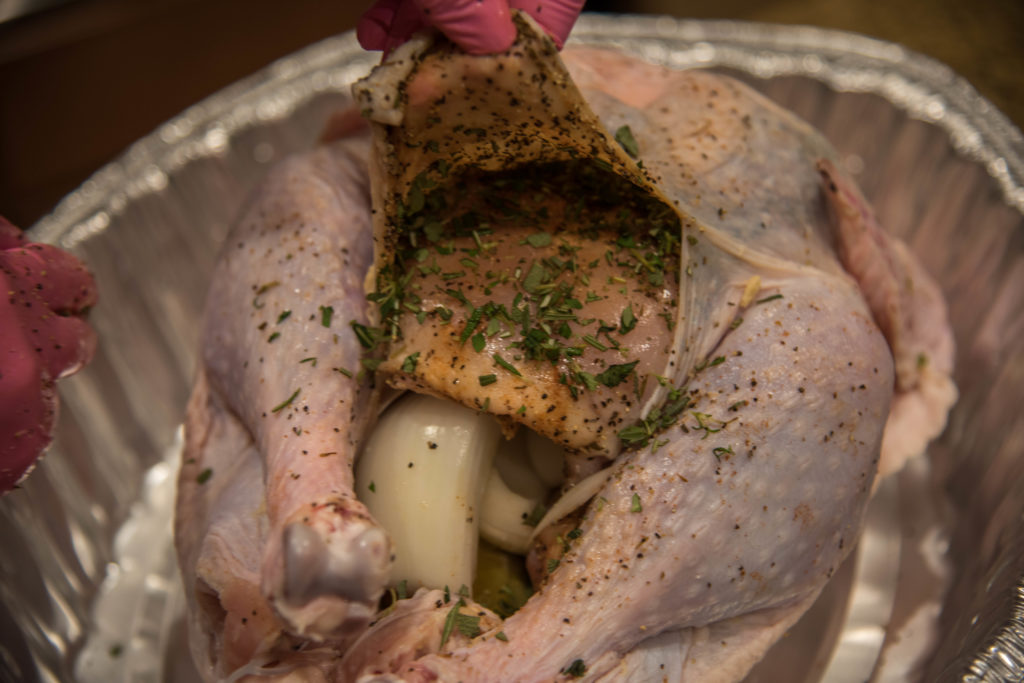
We started with a 12-13 pound turkey for this recipe. The night before roasting we cleaned the bird and patted it dry. I like to put veggies and herbs in the cavity along with a couple of orange wedges for flavor and moisture. The magic of our bird seems to be in the rub. Our bird gets a thorough massage all over with olive oil, seasoning, and herbs. I really enjoy the traditional flavors of Thanksgiving…rosemary, sage, thyme…but with a kick! Mr. Fanatic taught me to love a little heat so now we add blackening seasoning. The Santa Cruz Chile & Spice Co. is near my in-laws’ home in Southern Arizona and they have the BEST blackening spice I have ever tasted.
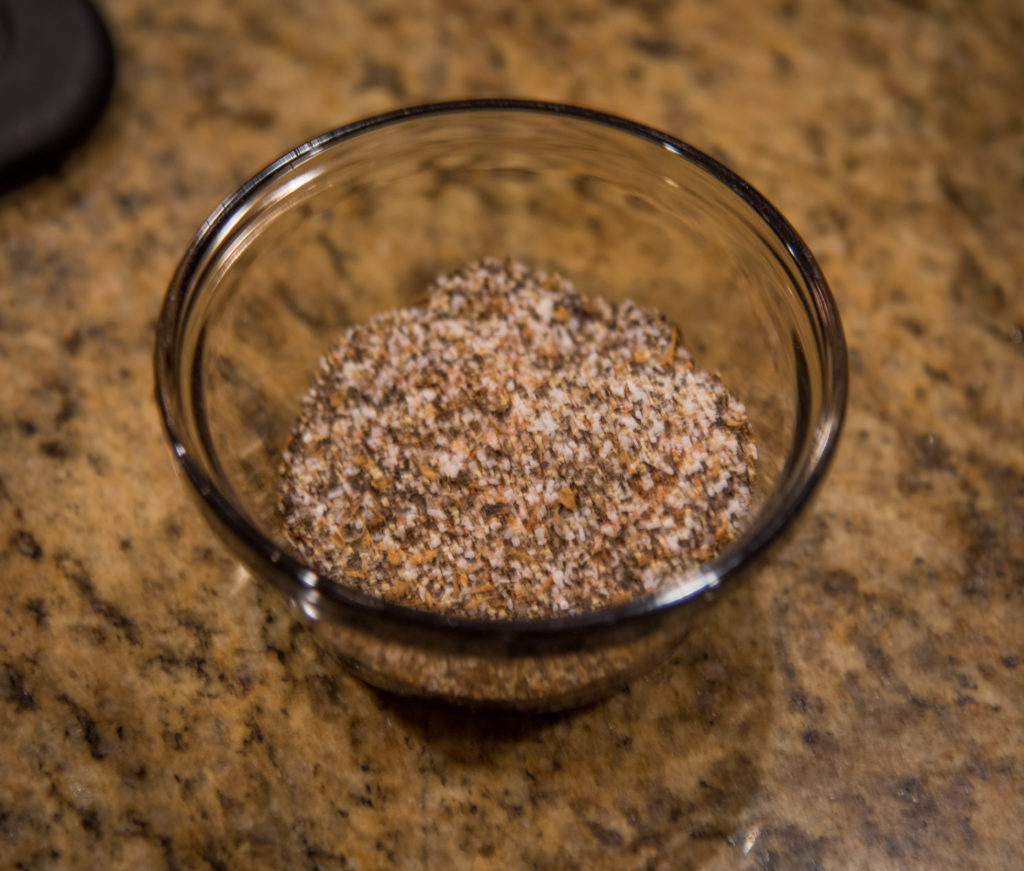
In a bowl combine salt, pepper and blackening spice. Heavy on the salt because I have not brined. Use approximately 2 parts salt to 1 part pepper and 1 part blackening. Chop about one tablespoon each of rosemary, thyme and sage.
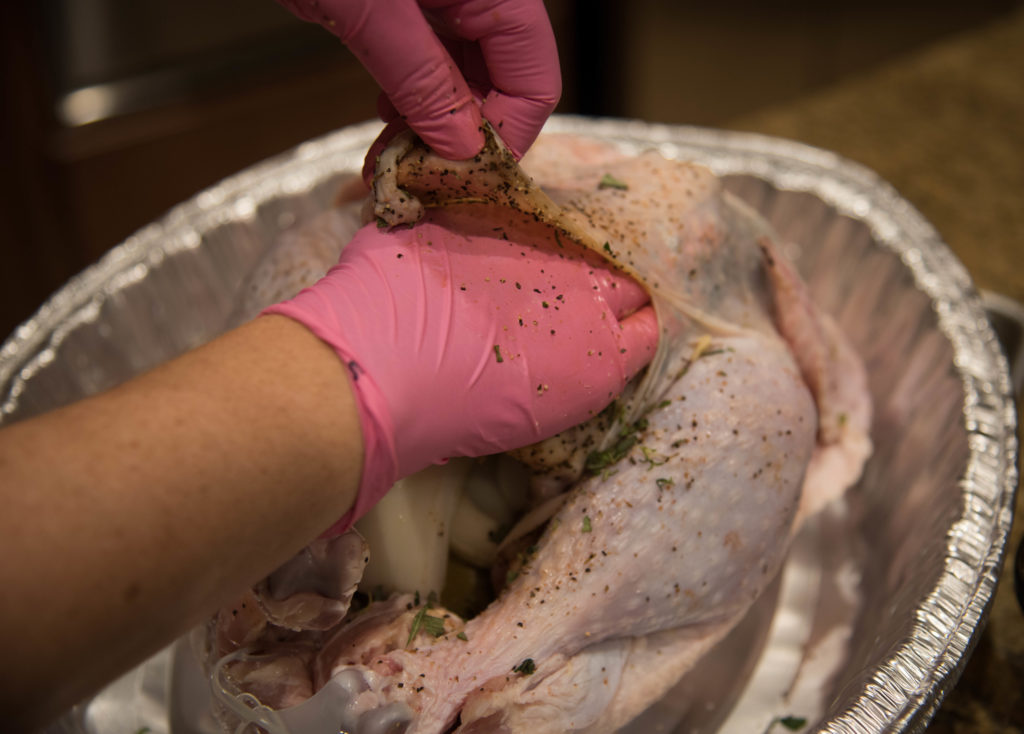
Loosen the skin on the breast of the turkey and insert the herbs and spices under the skin. Next, rub the entire turkey with Pacific Sun Olive Oil and the same spices and herbs placed under the skin. We covered the turkey with foil and put it in the fridge overnight.
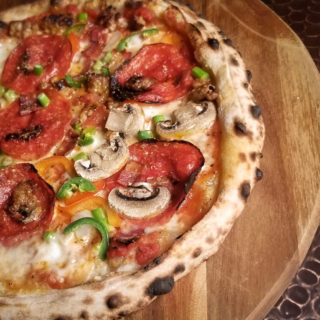
In the morning the oven was still a little warm from pizza night but we needed a little more fire to roast this pretty turkey. While Mr. Fanatic was getting the fire started and the oven up to temperature, I pulled the turkey out of the refrigerator to warm up slightly.
Just before placing the turkey in the oven a little chicken stock was added to the bottom of the roasting pan. We chose to use a disposable aluminum roasting pan for ease of clean up. We slid the pan into the oven with the legs toward the rear of the oven. The bird was left covered with foil and checked after 30 minutes. Roasting seemed to be going well and there was still liquid in the bottom of the roasting pan. The pan was returned to the oven and checked again in 30 minutes (the bird has now been in the oven an hour). The oven temp was hovering around 525 degrees. At the 1 hour mark it still looked about the same. We decided to give it another 30 and recheck. At the 90 minute mark, it still didn’t seem like much was happening and it certainly wasn’t smelling like turkey…so we checked the temperature with our ThermaPen instant read thermometer and it measured just over 50 degrees. We had a problem. Either the turkey was still a little frozen when we put it in the oven (despite 86 hours in the fridge) or we had the oven too cool for fear of cooking the bird too quickly and drying it out. The fire was small and didn’t seem to create the right convection. Mr. Fanatic decided to crank it up! Logs were added to increase the size of the fire, thus increasing the temperature to around 550 degrees.
Now things started happening. The turkey started to brown, it started to smell like Thanksgiving. It took another 2 hours for the internal temperature to reach 165. The foil was removed for the last 20-30 minutes. We tented the turkey in foil for about 20 minutes before carving and it was juicy and very flavorful! Even when you didn’t get a bite of the skin the brick oven flavor seemed to be apparent. I am not sure if it was the slow cooking, the size of the turkey or heavens knows(!) but the flavor seemed to have seeped all the way to the bone. Every bite tasted the same whether you got it from near the skin or somewhere in the middle. We have made many turkeys over the last 15 years and this was one of the best ever! Maybe even THE best. This wasn’t your grandmother’s turkey. This is definitely a new generation of Thanksgiving turkey.
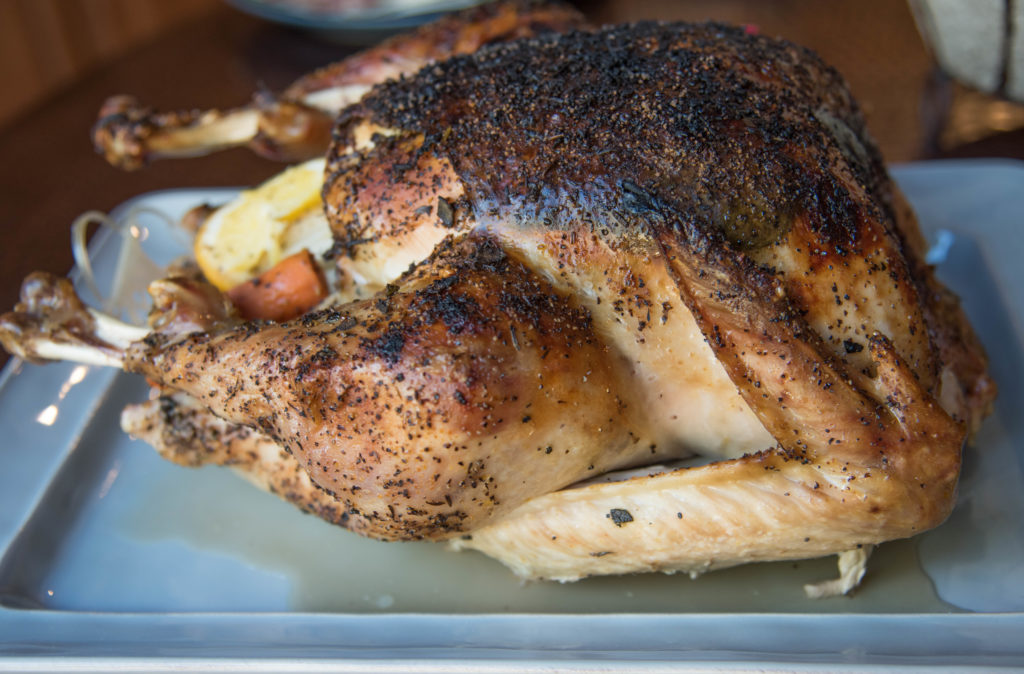
It doesn’t matter what flavors you prefer, traditional Thanksgiving herbs or something completely unexpected, roasting your turkey in your wood fired oven will not disappoint!
For more wood fired fun please like us on Facebook and follow us on Instagram @woodfiredfanatics!
